
Media library
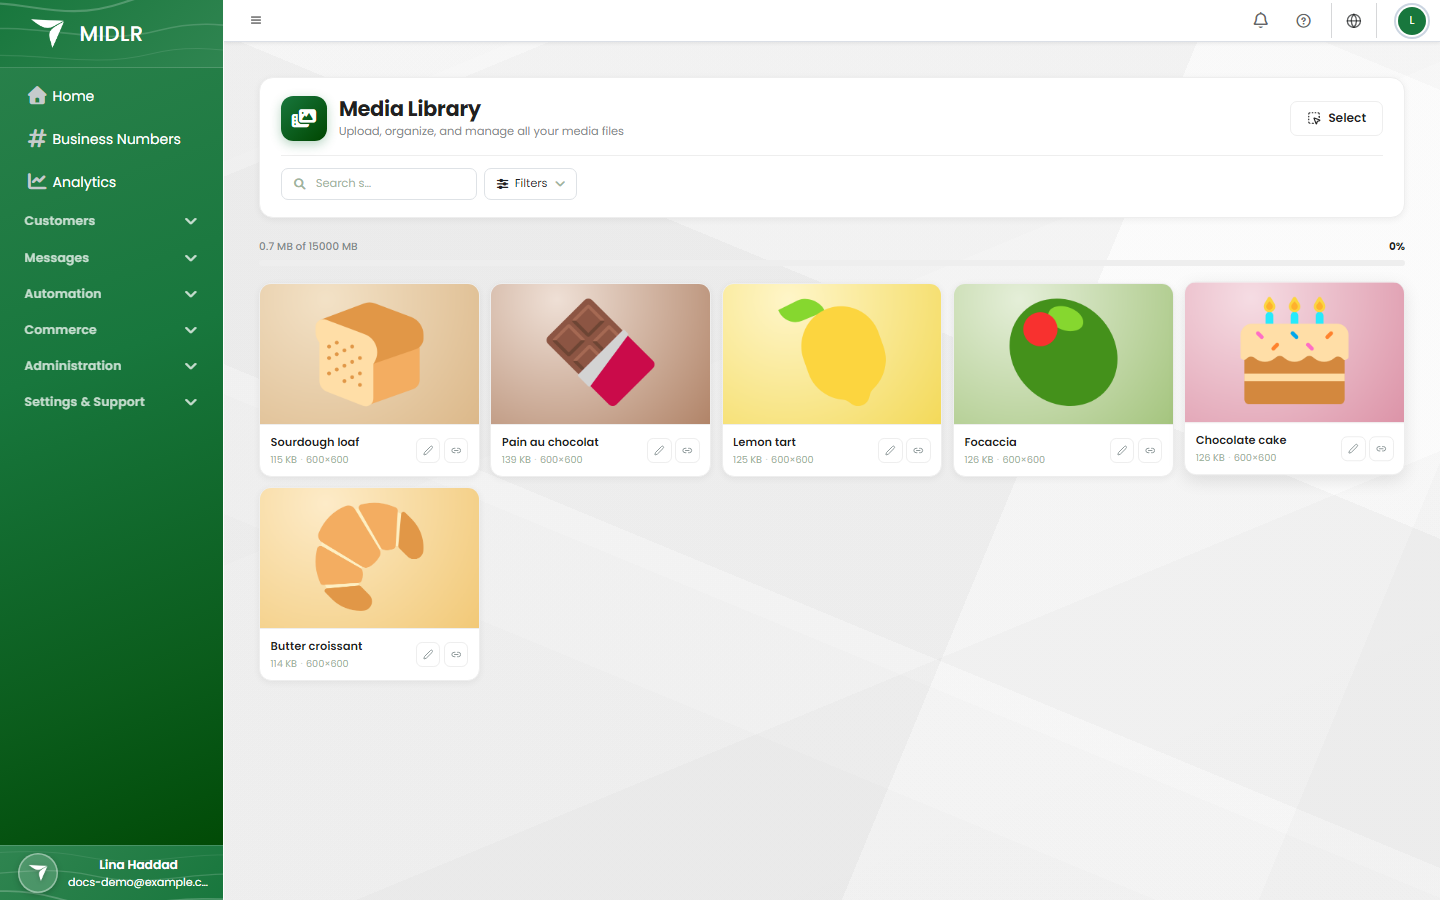
The Media Library keeps all your pictures, videos, audio files and documents in one place. Upload a file once, then reuse it in chats, templates, bots, product catalogs and call menus without uploading it again.
Before you start
- You need permission to view the media library. If you don't see Media Library under Commerce in your sidebar, ask your admin. See Roles & permissions.
- Uploading, renaming and deleting files may need extra permissions.
Open the media library
In the sidebar, under Commerce, click Media Library.
At the top you see how much storage you've used, for example 120 MB of 1000 MB.
Use the tabs to show All, Images, Audio, Videos or Documents. You can search by name, sort (newest, oldest, name, size) and choose how many files to show per page.
Library Uploads and System Assets
The scope switch shows different sets of files:
- Library Uploads: files you and your team uploaded here.
- System Assets: files Midlr saved for you from other places, such as template headers, chat messages, bots, user pictures and exports. You can view, download and copy these, but you can't upload into this view, and some files can't be renamed or deleted here because another part of Midlr manages them.
- All Assets: both together.
Supported files
| Type | Formats | Max size |
|---|---|---|
| Images | JPEG, PNG | 5 MB |
| Audio | WAV, MP3, OGG, AAC, FLAC, WebM | 10 MB |
| Videos | MP4, MOV, 3GP | 16 MB |
| Documents | PDF, Word, Excel, PowerPoint, TXT | 100 MB |
Product pictures for your catalog must also be at least 500×500 pixels.
Upload files
- Pick a type tab (Images, Audio, Videos or Documents). Make sure Library Uploads is selected.
- Click the add button, for example Add Images or Add Documents.
- Drag your files into the box, or click browse.
- Give each file a name. Every file needs a name before it can be uploaded.
- Click Upload 1 file (or Upload 3 files, and so on).
If you see Storage full, delete files you no longer need or upgrade your plan. See Plans.
Record audio
You can record a voice message or a greeting straight from your computer's microphone, for example for call menus.
- Open the Audio tab.
- Click Start Recording and allow microphone access in your browser.
- Click Stop when you're done. Listen to it with the play button.
- Name the recording and click Save to library. Click Re-record to try again.
Use a file from the library
Wherever Midlr asks for a file (in a chat, a template, a bot, a product), you can pick it from the library:
- Open the Library tab in the file picker.
- Search or scroll to the file and select it.
- Click Use this.
You can also upload or record a new file from the picker's Upload and Record tabs; it's saved to the library at the same time.
In a chat, you can pick several images, videos or documents at once, add a caption and send them together.
Rename, download or share a file
Click a file to open its preview. From there you can:
- Rename it.
- Download it.
- Copy URL to get a link to the file.
The preview also shows Asset Associations: every place the file is used.
WARNING
Anyone who has a file's link can open it. Only share links to files you're happy to make public.
Delete files
- Click a file and click Delete, or click Select, pick several files and click Delete.
- Confirm. This can't be undone.
You can't delete a file that is still in use, for example in a template or a bot. Midlr shows where it's used: remove it from each place first, then delete it. When you delete several files, files still in use are skipped and listed in a summary.
You can also download several files at once: click Select, pick the files and click Download.