
Schedules
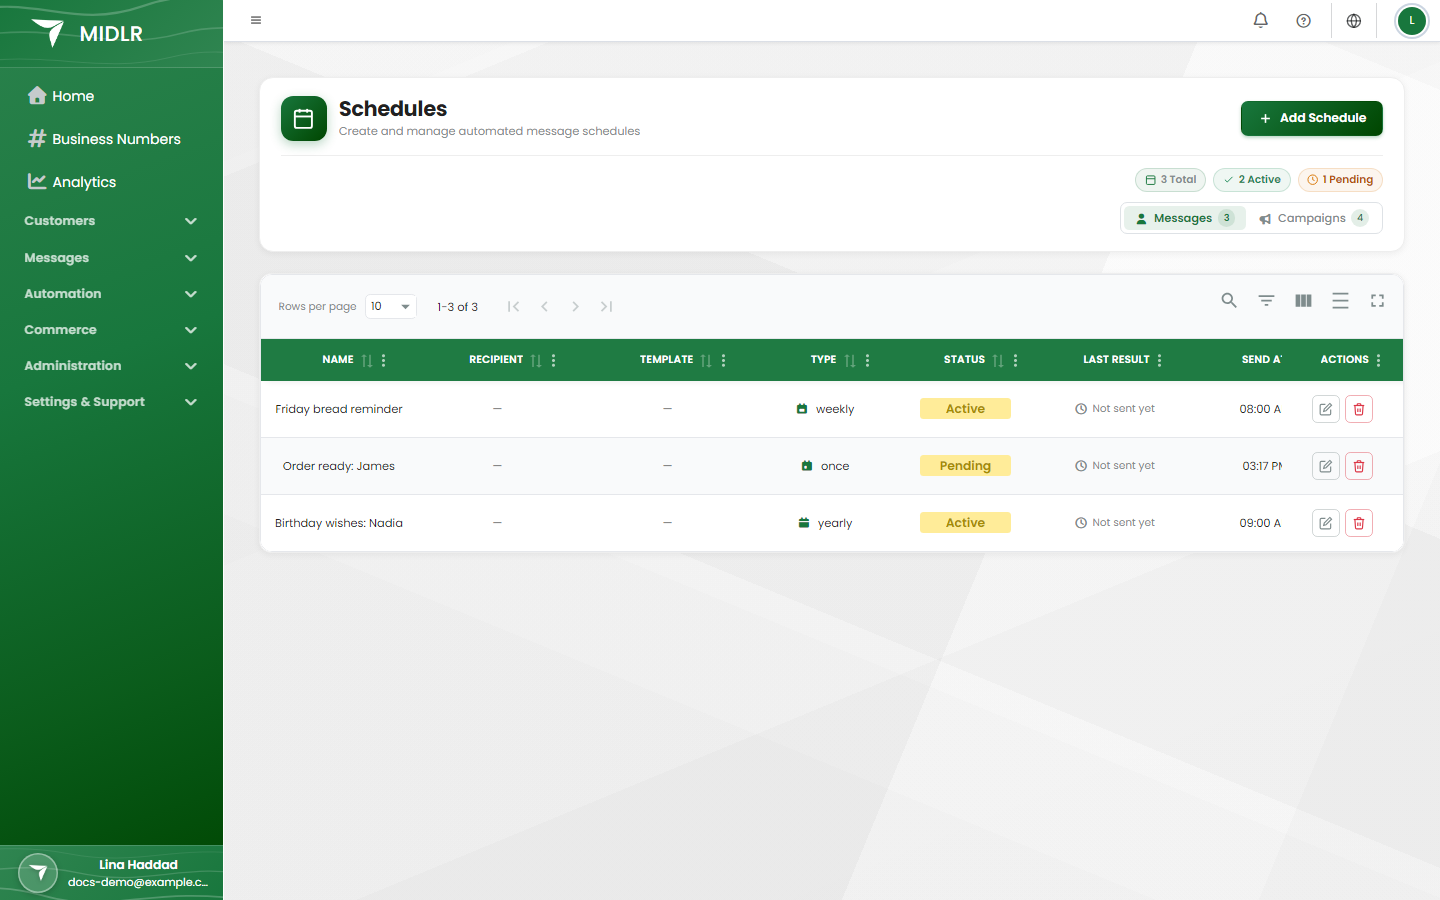
Schedules send an approved template automatically at a time you choose. Use them for one-off messages you want to send later, or for repeating messages such as a monthly payment reminder or a yearly anniversary greeting.
The Schedules page also lists your scheduled campaigns, so you can see everything that is waiting to go out in one place.
Before you start
- You need an Approved template. See Templates.
- You need permission to view scheduled messages. If you don't see Schedules in your sidebar, ask your admin. See Roles & permissions.
Open the Schedules page
In the sidebar, under Messages, click Schedules.
The page has two tabs:
- Messages: schedules for single contacts.
- Campaigns: campaigns scheduled for later, or sending in batches. You only see this tab if you can see campaigns.
Schedule a message for one contact
- Click Add Schedule.
- Pick Schedule for one client.
- Choose the Business Number to send from, the Recipient Number (search by name or number), and the Template Name.
- If the template has variables, fill them in for this contact under Personalize.
- If the template has header media, a URL button with a variable, or carousel cards, fill them in under Media & links. You can keep the Template default media or click Change.
- Give the schedule a Schedule Name so you can find it later.
- Choose the Schedule Type and timing (see below).
- Check the summary, then click Create Schedule.
To schedule a whole phonebook instead, pick Schedule a campaign. This opens the campaign builder with Schedule for later selected. See Campaigns.
TIP
You can also schedule from other places:
- Inside a chat, open Scheduled messages in the chat header to see, add or cancel schedules for that customer. See Chatting (the inbox).
- On the Contacts page, the Birthday Calendar lists customers with a birthday coming up. Click Schedule Message on a customer to schedule a birthday greeting. See Contacts.
Choose when it sends
Pick a Time Zone first. All times are read in that time zone.
| Schedule Type | How it works |
|---|---|
| One-time | Sends once, at the Send Date & Time you pick. It must be in the future. |
| Daily | Sends every day at the Send Time. |
| Weekly | Sends at the Send Time on the weekdays you tick under Repeat on (Weekdays). |
| Monthly | Sends on the days of the month you pick. You can pick up to 3 days, at least 5 days apart. Turn on Enable end-of-month trigger to also send Exactly on the last day of each month, or a number of days before the end. |
| Yearly | Sends on the dates you pick (month and day). You can pick up to 6 dates, at least 5 days apart. |
For repeating schedules you can also set:
- Start Date (Optional): leave it empty to start right away.
- End Date (Optional): leave it empty to keep repeating with no end.
WARNING
Each scheduled message is a template message, which WhatsApp charges for. A daily or weekly schedule keeps sending until you pause it, delete it, or it reaches its end date.
Schedule statuses
| Status | What it means |
|---|---|
| Pending | Created, waiting for its start date. |
| Active | Running. It will send at the next time shown in Countdown. |
| Paused | Turned off for now. It won't send until you set it back to Active. |
| Sent | A one-time schedule that has gone out. |
| Finished | A repeating schedule that reached its end date. |
| Failed | The message could not be sent. |
The Countdown column shows how long until the next send.
Check whether it was delivered
The Last Result column shows the delivery status of the most recent send: Pending, Sent, Delivered, Read, Played or Failed. Repeating schedules also show how many times they have sent.
Click the result to open the Send history: every attempt, grouped by day, with totals for Delivered and Failed.
Edit, pause or delete a schedule
- Edit: click the edit icon on the row, change what you need, and click Update Schedule. To pause it, set Schedule Status to Paused. Set it back to Active to resume.
- Delete: click the delete icon and confirm. This can't be undone.
Schedules that are Sent or Finished can't be edited or deleted; they stay as a record.
For scheduled campaigns, open the campaign from the Campaigns tab to reschedule, pause or stop it. See Manage a running or scheduled campaign.